

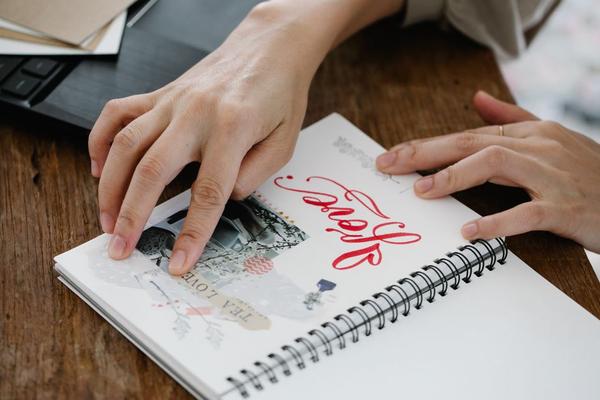
A strong scrapbook page does more than hold photographs. It guides the eye, gives important moments room to breathe, and combines pictures with enough context to make the memory meaningful years later. The most useful scrapbook layout ideas are flexible, so you can adapt them to holidays, birthdays, family history, travel, school events, or ordinary everyday snapshots.
Photo-Focused Scrapbook Layout Ideas
1. Build Around One Hero Photo
Make one image the clear focal point, then add two smaller supporting photos and minimal decoration.
2. Create a Clean Photo Grid
Arrange equal-sized images in tidy rows for an organised scrapbook page design that suits busy collections.
3. Use a Filmstrip Arrangement
Line up several narrow photos to show movement, changing expressions, or a quick sequence from one event.
4. Try an Oversized Background Photo
Let one large image fill most of the page, placing journaling only over quiet, uncluttered areas.
5. Crop Photos Into Circles
Mix circular photo crops in two or three sizes, keeping other embellishments restrained for a cleaner result.
6. Arrange Photos Along a Diagonal
Run pictures from corner to corner to create energy and leave natural spaces for dates or journaling.
7. Use a Two-Photo Split Page
Give two important images equal space on opposite sides, with a short story connecting them in the middle.
8. Stack Polaroid-Style Frames
Mount photos with wide white borders and overlap them slightly for a relaxed, collected-over-time appearance.
9. Make a Contact-Sheet Page
Use many small, matching photo sizes when you want to preserve a whole day without choosing favourites.
10. Frame a Panoramic Photo
Stretch a landscape image across the page and place smaller detail shots or notes beneath it.
Layouts That Give the Story More Space
11. Give Journaling Half the Page
Reserve one side for photographs and the other for a longer story on memory book pages.
12. Wrap Text Around a Photo Cluster
Group several images tightly, then place short journaling blocks around the edges for an editorial feel.
13. Use a Timeline Layout
Arrange photos chronologically with brief notes between them for trips, birthdays, renovations, or yearly progress.
14. Create a Before-and-After Page
Place the earlier image opposite the finished result and use the centre to explain what changed.
15. Add Caption-Based Journaling
Give each photo one short caption instead of writing a long paragraph, keeping busy pages easy to scan.
16. Build a Quote-Led Layout
Start with a memorable phrase from the day, then choose photos and accents that support its mood.
17. Design Around a Letter or Note
Make a handwritten message, card, or copied note the emotional centre and arrange related photos around it.
18. Create a Small-Moments Page
Combine ordinary details such as breakfast, shoes, flowers, pets, or a messy desk into one personal story.
19. Use Question-and-Answer Journaling
Answer prompts such as favourite moment, biggest surprise, and what happened next to make writing easier.
20. Leave Intentional White Space
Keep some areas empty so photographs stand out and the overall page feels calmer and more polished.
Creative Layouts for Colour, Texture, and Collections
21. Build a Colour-Blocked Page
Pick two or three colours from the photos and repeat them in simple paper sections or accents.
22. Create a Scrap-Paper Mosaic
Layer small leftover patterned-paper pieces behind a compact photo cluster to add texture without heavy decoration.
23. Make a Pocket-Style Layout
Divide the page into card-sized blocks for photos, dates, short stories, and small pieces of memorabilia.
24. Feature Tickets and Ephemera
Use museum tickets, boarding passes, receipts, or wristbands as part of the composition rather than afterthoughts.
25. Repeat One Simple Shape
Echo circles, stars, arches, or tags across the page to create unity and guide the eye.
26. Try a Border-Heavy Layout
Keep the centre simple and concentrate patterned paper or decoration around the edges to frame the story.
27. Create a Vertical Story Column
Stack the title, photos, and journaling in one strong vertical line, especially for portrait-oriented images.
28. Build a Symmetrical Layout
Mirror photo sizes and accents around a centre line, a useful scrapbooking tip for balancing mixed elements.
29. Design a Seasonal Colour Story
Use colours that suggest the season without relying on themed stickers, keeping the page subtle and versatile.
30. Create a Two-Page Panorama
Carry one story across facing pages; for a beach trip, align a shoreline photo through both pages and place smaller family shots around it.
How to Choose the Right Layout
Start with the story, not the embellishments. If one image carries the emotion, choose a hero-photo layout. If the memory depends on sequence, use a timeline or filmstrip. For many pictures from one day, a grid or contact sheet keeps the page controlled. Before gluing, move loose photos around until the focal point is obvious, then add paper and journaling.
For a larger album, repeat a few design choices such as margins, title placement, or journaling width. That creates consistency without making every spread identical. Related topics such as photo album organisation, scrapbook journaling ideas, and beginner scrapbooking supplies also make useful next steps when building a complete memory-keeping system.
Frequently Asked Questions
How many photos should go on one scrapbook page?
There is no fixed number. One strong image may carry an emotional page, while a grid can hold many small photos. Use only as many as the story needs without crowding important details.
What makes a scrapbook layout look balanced?
Balance comes from distributing visual weight. Large photos, dark colours, dense patterns, and embellishment clusters attract attention, so offset them with quieter areas and white space.
Should every scrapbook page use the same layout?
No. Repeating a palette, margin style, or title treatment can unify an album while varied photo arrangements keep individual pages interesting.
How do I plan a scrapbook page before gluing?
Choose the focal image first, test two or three arrangements, then add temporary paper and journaling pieces. Photograph your favourite arrangement before attaching anything permanently.
Make the Layout Serve the Memory
The best scrapbook layout ideas are not necessarily the most elaborate. Clear hierarchy, thoughtful spacing, and enough room for the story usually create stronger pages than decoration added without purpose. Use these 30 approaches as starting points, then adjust photo sizes, colours, and journaling to suit each collection. A good layout should make the memory easy to understand, enjoyable to revisit, and unmistakably yours.